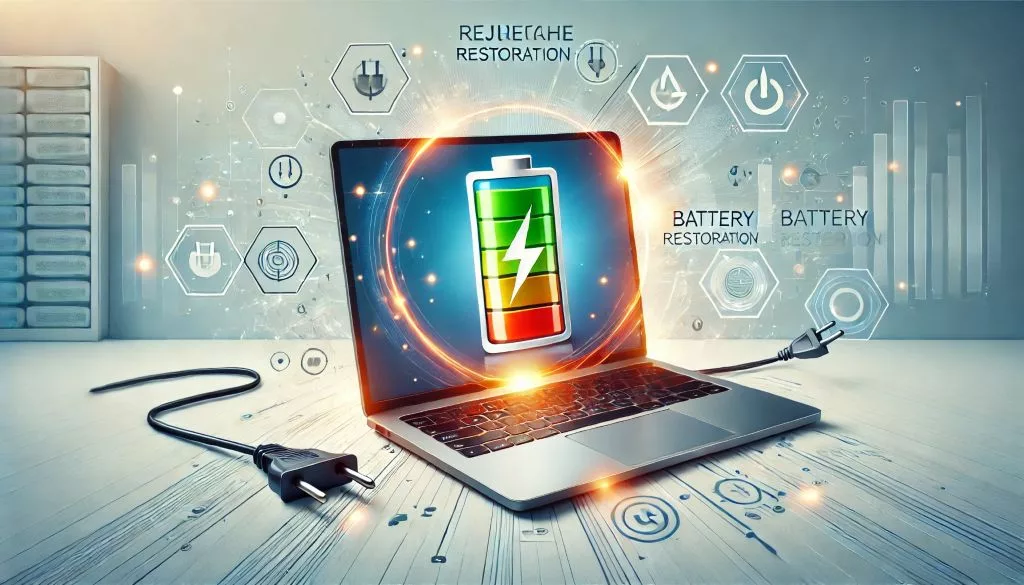
My old laptop has been driving me crazy lately! 😩 The battery life was plummeting, and I had to carry the power adapter everywhere, living my life in coffee shops just to stay powered up. 😭 I considered buying a new laptop, but looking at my bank account, I decided to try and rescue my “old buddy.” And guess what! I discovered this awesome trick to replace the battery easily, solving my battery anxiety, saving money, and boosting efficiency! 👏
1. Determine if Your Laptop Battery Needs Replacement
- Drastically Reduced Battery Life: Used to get 3 hours, now only 30 minutes? This is a classic sign of battery aging!
- Battery Swelling: If your touchpad or keyboard has a noticeable bulge, it’s likely a swollen battery. This is extremely dangerous! ⚠️ Replace it immediately!
- System Warnings: Some operating systems will warn you when the battery needs replacement. Pay attention to these warnings!
- Frequent Recharging: If you find yourself constantly plugging in your laptop and it charges very quickly, it also indicates a significant decrease in battery capacity.
2. Choosing the Right Battery
This step is crucial! Don’t be tempted to buy cheap, low-quality batteries. It’s a huge safety hazard! 💥 Here are a few tips for choosing the right battery:
- Original Batteries are Best: Although more expensive, they offer the best quality, compatibility, and safety! 👍
- Choose Reputable Channels: Avoid buying from unknown small shops. Opt for official flagship stores or authorized dealers.
- Check Battery Specifications: Pay close attention to the battery capacity, voltage, manufacturing date, and ensure it matches your laptop model.
3. My Battery Replacement Experience (ThinkPad X260 Example)
The process was super easy! Incredibly beginner-friendly!
- Prepare Tools: Small screwdriver, new battery (I bought an original battery from the ThinkPad official website).
- Shut Down: Turn off the laptop and unplug the power adapter! Safety first!
- Remove the Back Cover: Use the screwdriver to unscrew the back cover of the laptop and carefully remove it.
- Remove the Old Battery: Locate the screws securing the battery, unscrew them, carefully unplug the connector, and remove the old battery.
- Install the New Battery: Insert the new battery into the battery compartment, connect the connector, and tighten the screws.
- Install the Back Cover: Replace the back cover and tighten the screws.
- Power On and Test: Connect the power adapter, turn on the laptop, and check if the battery is working correctly.
The whole process took less than 10 minutes! Super fast! ⚡️ My laptop’s battery life is back to its peak performance, and it feels brand new! 🥳 No more worrying about low battery!
4. Usage Tips After Battery Replacement
- First Charge: It’s best to fully charge the new battery for 12 hours the first time to help activate it.
- Avoid Overcharging: Try to avoid leaving your laptop plugged in for extended periods, as this can shorten battery life.
- Regularly Calibrate the Battery: Some laptop systems offer battery calibration features that can help optimize battery performance.
5. My Experience
After replacing the battery, my laptop usage experience has improved dramatically! The battery life is significantly longer, and my productivity has increased! 💯 Highly recommend this to anyone with an aging laptop battery!